Sunday 31 January 2010

Twilight Scenery II

Most of the plasticard work done on the tower... plenty of filling and sanding to do before painting, and some windows to fit.

The conical roof is a real nightmare to make accurately without the card kinking at the join, but I think I have the technique sorted out now.


Oh, and a surprise or two on the blind side of the tower.

 In the meantime I have to decide what to do for shingles cardboard is looking favourite about now (but I may do them in plastic)and I have a slope and/or some stairs to make fro the main entrance.

Thursday 28 January 2010

Twilight Scenery I

Well, its a start!


Yes I know I promised not to start any new projects... but I have a cunning plan!

Saturday 23 January 2010

Modular Vehicles X

I got my first ever laser cut model in the post this morning hot from the cutter at Fenris Games. I couldn't recommend Ian (Geronimo) at Fenris highly enough!

This kit is the Mobile Landing Pad that I've shown here before.

I designed this to split into A4 sized sheets so that postage is simple and cheap.


Each flat A4 sheet contains 3 full kits.

I have rubbed one with boot polish so that in this picture you can see both the cut outlines and the engraved detail.


One Mobile Helipad Kit.

Well I was like a little boy in a sweet shop and I couldn't resist doing a test assembly!

The quality of the engraved detail is superb, crisp, accurate and fine!  The full cuts do leave a little burr on the edges requiring a light sanding when they are removed from the sprue, but this wasn't a significant problem.

The model took me about 30 minutes to fully assemble, and that was with the assistance of my 9 year old son.

I discovered a couple of minor issues with the geometry - the holes for the magnets to affix it to the chassis are a little large - thats mostly because the laser burns away around 0.2 mm of material and I had already drawn the holes 0.2 oversize, so I shall reduce this so that the magnets are a better fit. Also you may notice the front of the cab isn't as good a fit as it should be so I'll fix that too.. Other than that I am really happy with this.

As you can see from the first picture the home made hinges hold the flaps nicely horizontal, so no legs or struts will be required! I'm doubly pleased with this because as a couple of people pointed out that the legs looked like an afterthought (because they were!).


Helipad in its operational or Deployed state.

The hinges work nice and smoothly and stand neatly folded up. Whilst these hinges aren't going to be strong enough take too much abuse I reckon they are easily capable of taking handling in game allowing the model to be used both in its transit position and in its deployed position.


Helipad in its transit or stowed state.

So, all in all I am pleased with my first foray into making my own laser cut kit!

I'll get some paint on this in the next week or so (I need the temperature to increase somewhat so that I can get my airbrush running successfully) and I'll post pictures when I do.

As these are repeatable to cut I shall be selling kits if anyone wants one. Yes, you do need an Old Crow scout chassis to sit under it but I'm expecting my kit to be around the £2.50 mark and modular so there will be other variants of hulls to go on the chassis.

I'm not looking to make a fortune from this, mostly its case of making stuff I like and then if anyone else likes it too then covering my costs so I can make more.


Helipad trailer being towed.

The Mobile Helipad should be suitable for any small one man flier in 25mm scale - the landing pad area is 80mm in diameter.

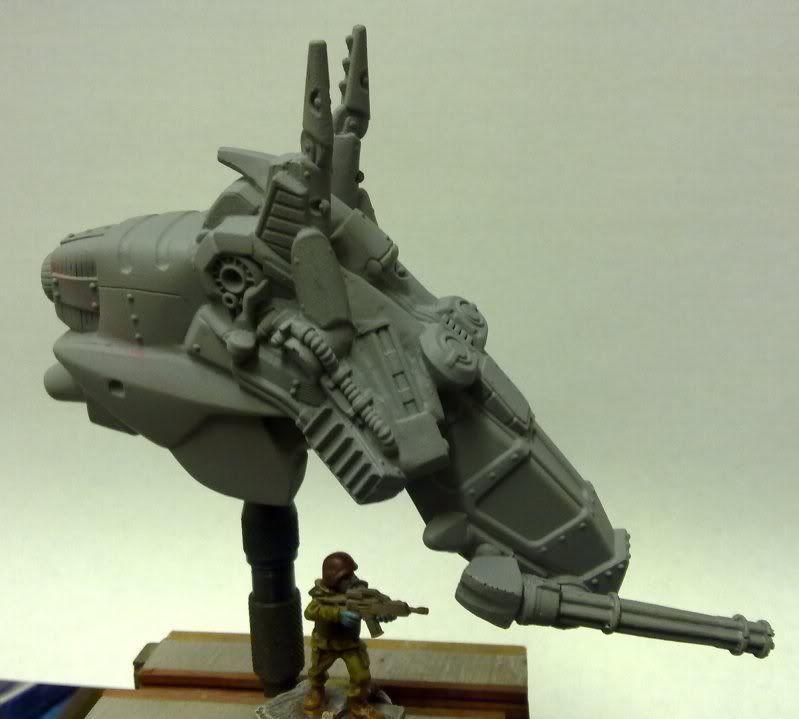
Now all I need is for Hassle Free Miniatures to release one of its looooooong awaited Grymn fliers (either the attack flier I used a preview of for my DoD entry or the frankly stunning Grav Bike). or for Fenris to release its small flier.

As always comments very welcome.

Thursday 21 January 2010

Modular Vehicles IX

I've just had word that my first set of geometry for the mobile helipad has successfully been laser cut as is in the post to me! Yay. In a few days I should be able to show you some actual modeling instead of all this cyber stuff.

So I put together some assembly instructions.


Doing this not only (I hope) gives potential customers some help in putting together this vehicle but by putting it together virtually I was also able to spot problems with the design and refine them.

Modular Vehicles VIII

This is a generic hull for the provider and its trailer (the scout vehicle chassis)


It is designed to be modular and a bit different to a slab sided lorry back. The two modules are designed to look similar and tie in with the look of the old crow style. I have tried to make these look less slab sided by sloping all four corners inwards whilst retaining vertical surfaces where the irises and end windows are.

This allows the modules to be removed from the chassis and grouped together (iris to iris or window to window) to make temporary camp structures such as this.


I can imagine this being a mobile hospital, a command HQ, a temporary laboratory or any number of other uses. If nothing else its either an objective in a scenario or some cover in a fire fight. This should allow quite a range of modular temporary structures to be created. Whilst each of these modules is a little small, they are completely mobile.

I think I shall modify the plates on the roofs so that they are all the same size and interchangeable, that way I can scribe one side with symbols such as red crosses, arrows and biohazard symbols. Then the buildings can be assembled either plain or with symbols showing - allowing the buildings to have multiple uses. Likewise I can make the Iris inserts double sided so that they can show open/closed Irises or blanked off walls.

My only regrets are that I haven't figured out how to make good double height structures without having slab-like vertical 'boxes'.

EDIT 21.01.10: Adjusted the module on the truck back to allow this:


As to sizes, the width of these modules is 46mm not huge but thats the width of the chassis. The larger modules are 92mm long to match the length of the trailer chassis.

Tuesday 19 January 2010

What's it gonna be?

Look what accidentally broke while baking today!


... and I thought - that looks like a landing pad!

Add one more project.

Saturday 9 January 2010

Modular Vehicles VII

WIP pictures for crane modules for the provider transport.


I'm thinking that the crane arm itself might be a little bit chunky at this point but you get the idea. The design allows the platform of the crane to rotate and lock in place via magnets as does the up-down motion of the arm. I'm planning on using the same mechanism as I did on the variable pitch engines on the unfinished Drop ship. I still have the extending arm of the crane to design again which should lock in various locations through the use of magnets.


I wanted a crane so that if I had a a number of mobile Landing platforms then at least one of the trucks pulling them would be able to do recovery operations and load the fliers for transport. So the truck and trailer combination would look something like this.


I'm now itching to model up the Grymn flier to sit on the back of the trailer, but as the damned thing doesn't have a single straight line anywhere on it, and my only reference is currently glued to my DoD entry and covered in bubbles I might have to forgo that! besides its not cutting plasticard is it?

Comments always welcomed.

Thursday 7 January 2010

Modular Vehicles VI

This is a hull to convert the scout chassis into a smaller version of the provider truck. The flat bed is actually the same size as that on the main provider so the modules will be interchangeable.


And the completed landing pad with flaps down...


... and flaps up ...


I have modified the front of the landing pad so that its lower and offers less obstruction to landing on it, and enlarged the landing area somewhat and made the whole thing easier to model and fixed a couple of problems with getting the flaps to move easily without fouling.

I really should make some of these.... eventually.

EDIT 21.01.10
I think I may have to add outriggers/legs to the flaps to keep them up as the bracing under the flaps is an area i am concerned about. This is my current approach both to having the legs in use and then stowed in the vehicle.


Alternatively Slide supports from under the main hull. Like this:


While this is a more elegant solution it does mean that the main landing pad ends up getting much beefier and the multiple layers of plasticard along the hull edges will be difficult to model smoothly. It also means I wont get 3 kits per A4 sheet but just 2, so that will increase the cost.

I'll have to see what the test kit looks like when i get it back from the laser cutters.

Tuesday 5 January 2010

Modular Vehicles V

Completed the Provider with a Medical station:


And the first pictures of a truck and trailer combination:


Hopefully what I am attempting to Achieve is a little clearer. It's certainly helping me to visualise and plan the builds better.

Monday 4 January 2010

Modular Vehicles IV

A tiny update: I have refined the chassis so it's now a much more accurate copy of the Old Crow original ... improved the wheels so they are more accurate, and played around with textures and colours.


OK, so it's not modeling but I am having fun, and hopefully I am making all my mistakes in cyber-land not in plasticard! I've already figured out how to make the hinged sides for example.

Also some progress on the 'Truck' (or Provider Transport as Old Crow call it). The Big Yellow Box is to show where I intend to incorporate the modular loads for the truck.  Still some work to do here, but you can begin to see the detail of the raised panel areas on the rear of the truck which will allow me to play around with similar patterns on the scratch-built elements to keep them consistent with the Old Crow look.


Sunday 3 January 2010

Modular Vehicles III

A little more planning. I like planning.

I've knocked together some basic structures in Sketch-Up to plan the various styles of modular trailer hulls I am going to build. The Chassis section is the Old Crow chassis and is a sandy colour in these images, the white/grey sections are the bits i need to scratch build.

The first is probably an ambulance / medical trailer (and is very similar to the hull I have already built).


The second is more elaborate and is a mobile launch platform for helicopter and VTOL attack craft. The outer flaps hinge downwards to create an 80mm diameter launch platform.
 

There are lots of details to add, such as the raised plate designs that epitomise the Old Crow vehicle style, and other markings, but hopefully you get the idea.

I'm finding it very therapeutic to play with the designs on the computer before making mistakes in plasticard.

EDIT(3/1/10) : Originally I was planning on having the Lander to service a small fleet of Antenociti workshop / Hasslefree Grymn Fliers like the one I used in my Diorama of Doom entry last year.

But they've been more than a year in the making and I quite like the vehicle that Fenris Games has recently previewed so may go with that...