Saturday 30 November 2013

Diorama of Doom - XI

Some basic progress with undercoating the bulk of the diorama. Plus some detail work on the tank showing the innards with a couple of open access hatches. Also some detailed work on the walker head and body. The gubbins are Steam Punk bits from Sally at Hasslefree Miniatures.

It's all gone black!
Walker head and body with a few "gubbins" added
Open access hatch on the rear of the tank
Thank heavens for the steam punk bits from Hasslefree!

Saturday 16 November 2013

Diorama of Doom - X

Well, that took a lot longer than I had hoped.

OK, so I am still not showing you what is in the middle - but it IS finished. If all else fails I can just enter this part of the Diorama in the competition and it'll still qualify. (I don't have the best record for finishing stuff!)

Looks like Wicket got some training!


Sunday 10 November 2013

Diorama of Doom - IX

I was bored with modelling so today I decided to apply some paint to the small forest part of the diorama.

Ignore the background. I was hoping to make paint a trump l'oeil effect of a forest, but decided that I dont have the skill to do this on the curved background - nor do i have the time. I shall be applying a print of one of the pictures in an earlier post instead.
Yes, its supposed to have a green tinge - its moss!
I then did a little bit of modelling with green stuff to convert Hasslefree's "Mystic Panda" into this...


Sunday 3 November 2013

Diorama of Doom - VIII


Now with added bark and rocks

Don't look this close :(

Diorama of Doom - VII

A change of direction.  I have begun modelling the part of the diorama that I am most concerned about!I am relatively comfortable and happy modelling with styrene sheet and resin, but much less experienced with green stuff and organic modelling - 'sculpting'. So hence this is a bit of a step into the unknown for me.

I'm not going to explain why part of this diorama appears to be set in a forest and another in a workshop - I shall leave that to the reveal and the supporting short story...

It's a tree!
I still have to model some bark on this tree. I think by wrapping this roughed out shape in a layer of green stuff which i then carve or drag the sculpting tool through. Never done this before so wish me luck.

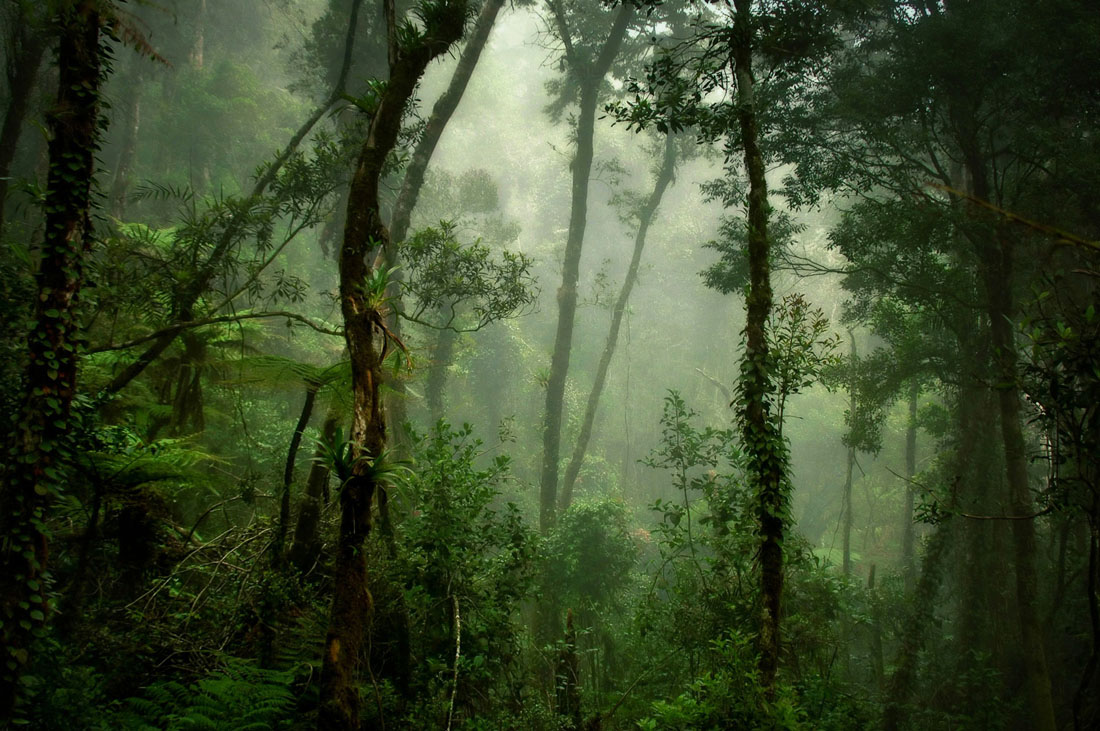
I want to get a feeling like the follwoing pictures in this small circular area, so I am going to either
  1. Print out one of the images and attempt to glue it to the curved plastic backing either side of the main tree - but i am worried about getting a smooth glue onto the plastic and not having the print ink bleed when it is varnished
  2. Paint something similar to these images onto the backing in a trump l'oeil effect - but I am worried that i simply don't have the skill.